
Office Spaces
The Veranda Transformation Begins
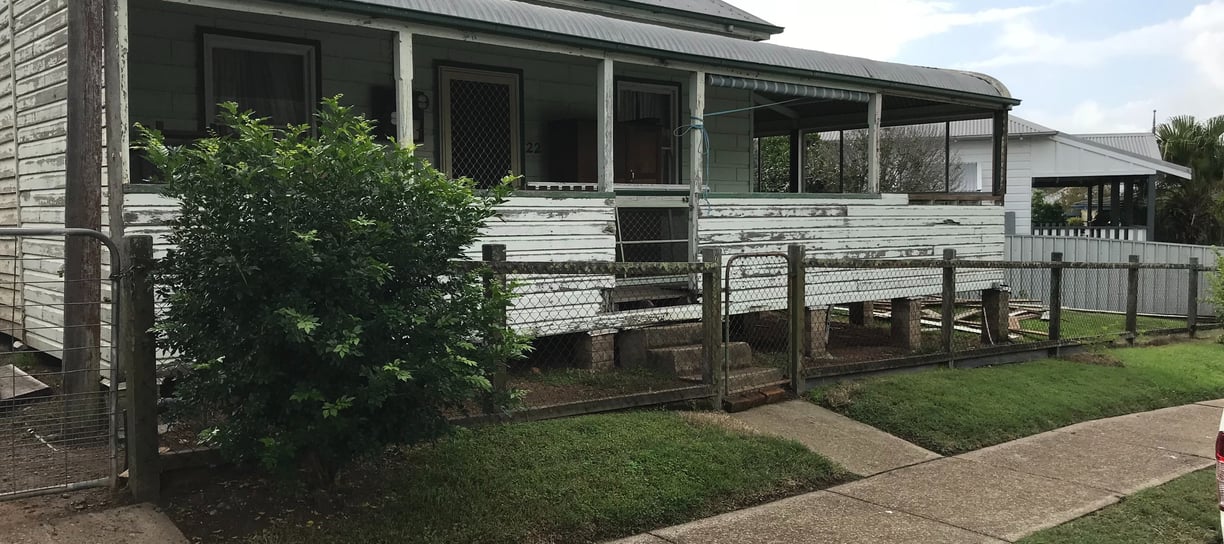
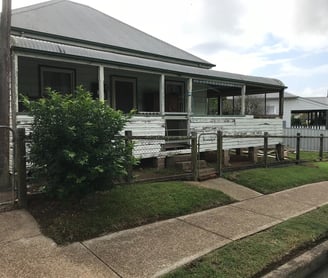
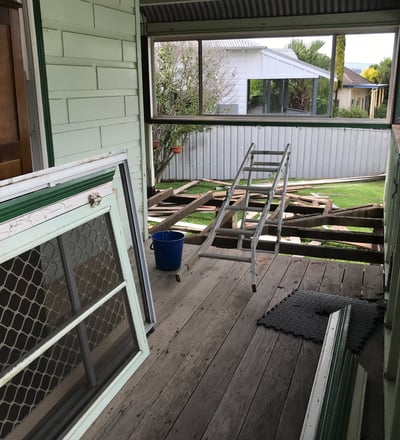
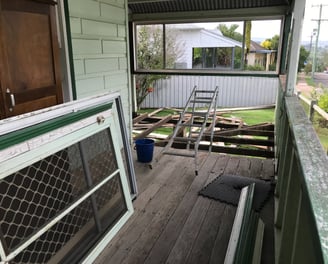
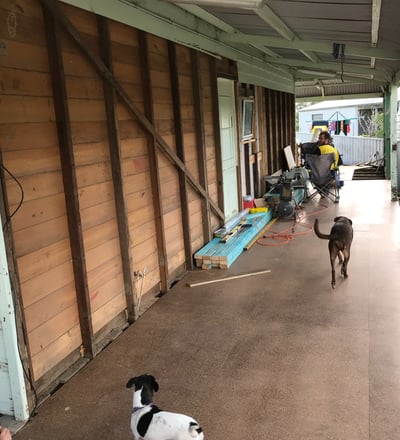
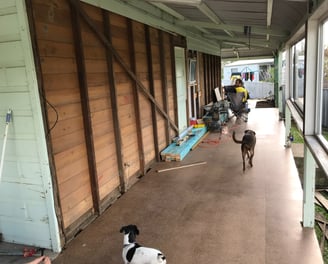
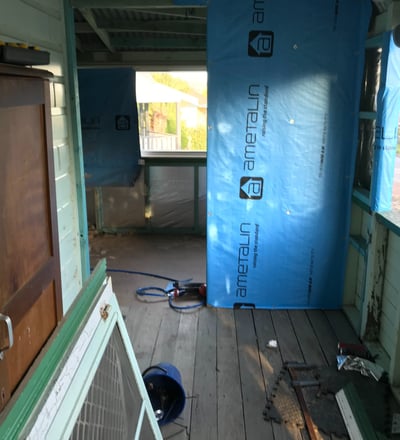
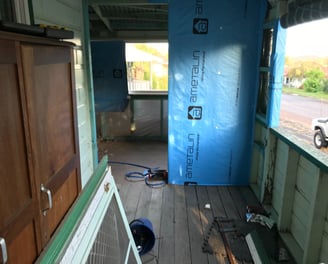
Our house had a charming veranda that wrapped around from the front, down the right side, and across the back. To create a functional office space, I decided to close in the section of the veranda that ran down the right side of the house. This was the beginning of an extensive renovation project that would ultimately transform the area into two separate office spaces.
Removing the Old Floorboards
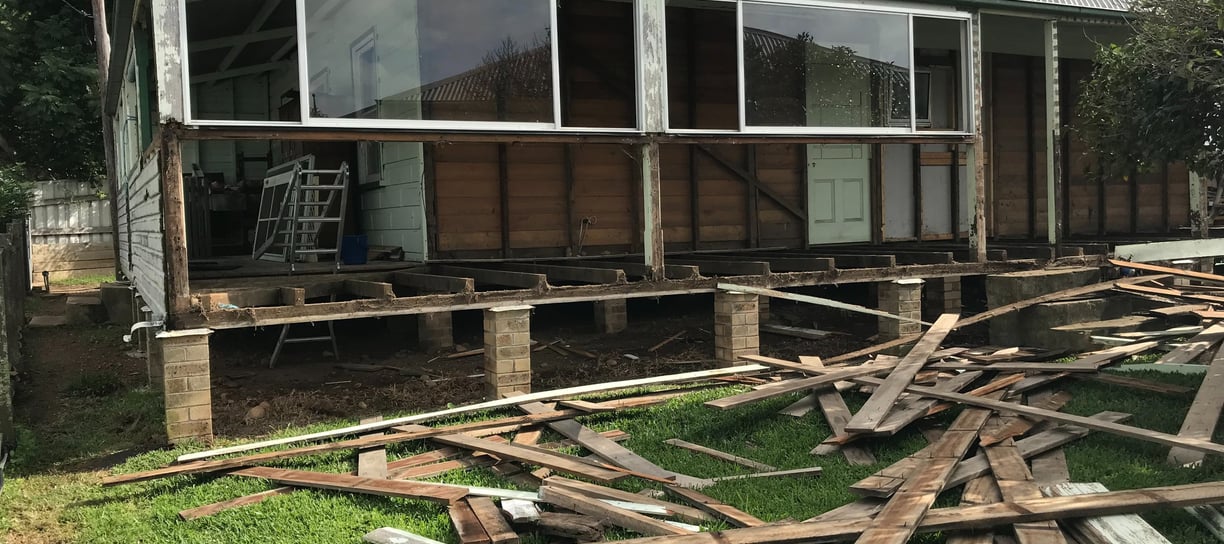
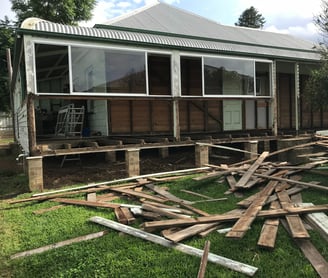
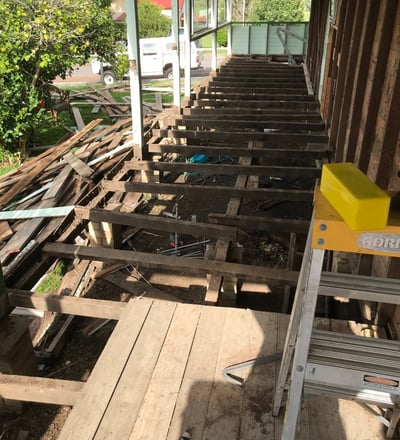
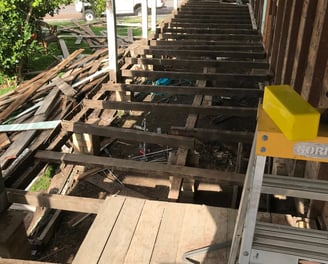
The first step was to rip up the old floorboards and old weatherboards on the veranda. This task was labour-intensive, requiring careful removal of each board to preserve the underlying structure. As expected, the years had not been kind to the joists beneath, and many were in desperate need of replacement.
Replacing the Joists
With the floorboards removed, I turned my attention to the joists. Many of them were rotting or structurally unsound, necessitating their removal and replacement. This involved precise measurements and careful installation to ensure a sturdy foundation for the new flooring.
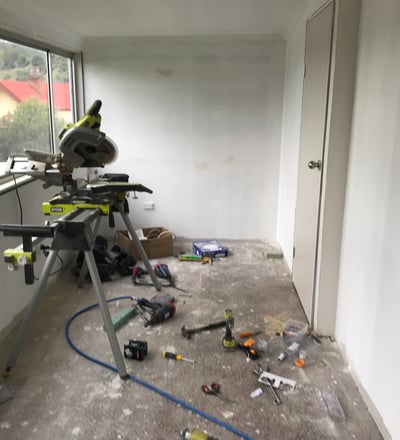
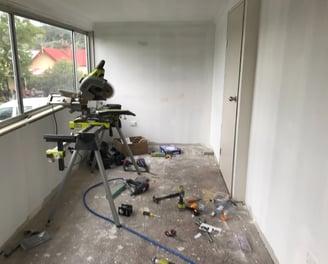
Installing Yellow Tongue Floor Panels
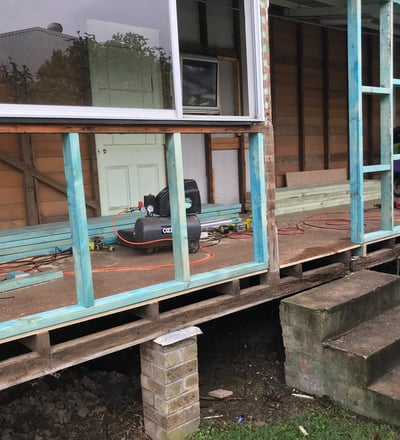
Once the joists were replaced, I laid down yellow tongue floor panels. These panels provided a solid, durable base for the office floors. Each panel was meticulously positioned and secured, ensuring a level and stable surface to build upon.
Next, I framed the outer walls of the new office space. This required constructing a robust framework to support the walls and future ceiling. Each stud was carefully measured and installed, creating a strong skeleton for the rooms.
Framing the Outer Walls
Dividing the Office Space
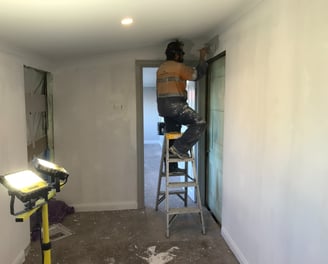
Midway down the right side of the house, I erected a frame to divide the area into two separate office spaces. This wall featured a linking doorway, allowing easy access between the two rooms. The division provided distinct areas for different functions or occupants.
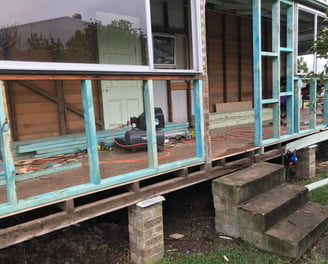

To maintain access to the remaining veranda areas, I built walls with doorways at both ends of the enclosed space. One doorway led to the front veranda, and the other to the back veranda. These entryways were crucial for preserving the flow and functionality of the house.
Creating Entryways
Constructing the Ceiling Frame
The original veranda had no ceiling frame, so I installed timber rafters throughout the new office spaces. These rafters were essential for supporting the ceiling and providing a base for insulation and drywall. This step required careful planning and precise installation to ensure a level and stable ceiling.
Insulating the Ceiling
With the rafters in place, I insulated the ceiling to improve energy efficiency and comfort. The insulation material was carefully placed between the rafters, providing a barrier against temperature fluctuations and noise.
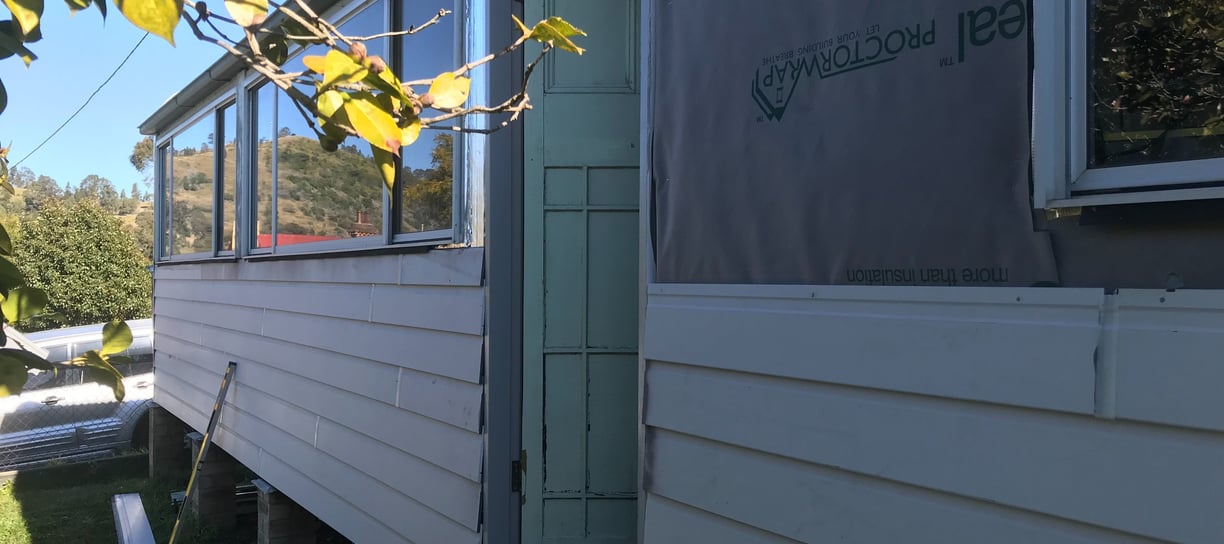
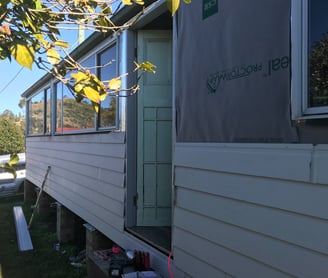
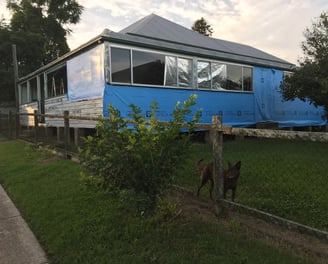
Sarking and Cladding the Outer Walls
The next step was to install sarking and cladding on the outer walls. Sarking provided an additional layer of insulation and moisture protection, while the cladding added durability and aesthetic appeal. Each piece was meticulously cut and secured, ensuring a weather-tight and attractive exterior.


To power the new office spaces, I ran wiring to supply 10 power outlets and 2 LED downlights in each room. This involved careful planning to ensure sufficient electrical capacity and strategic placement of outlets for maximum convenience and functionality.
Running Electrical Wiring
Installing Federation-Style Trim
To maintain consistency with the rest of the house, I finished the new office spaces with Federation-style skirting boards and architraves. These elements added a touch of classic elegance and tied the new spaces in with the overall aesthetic of our home.
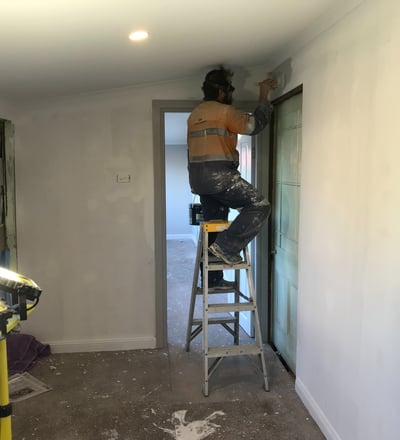
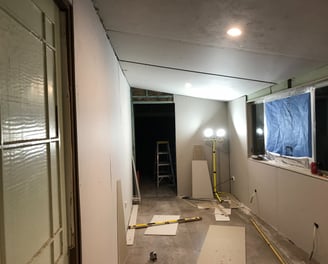
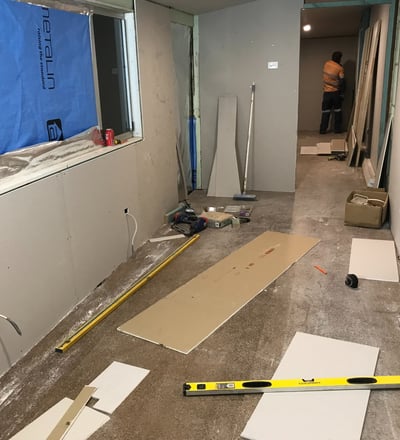
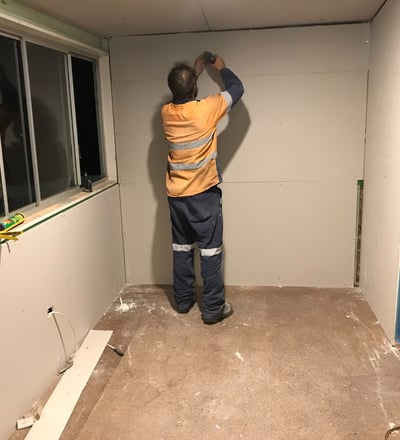
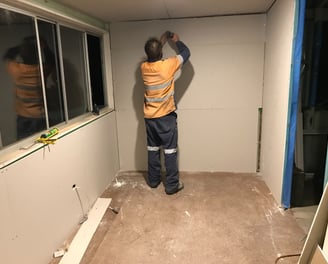
After the wiring was in place, I insulated the interior walls to further enhance energy efficiency and comfort. Then, I installed drywall, carefully measuring and cutting each sheet to fit perfectly. The drywall provided a smooth, clean surface ready for finishing.
Insulating and Drywalling the Interior
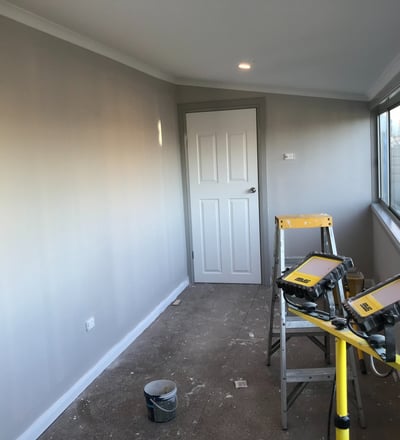
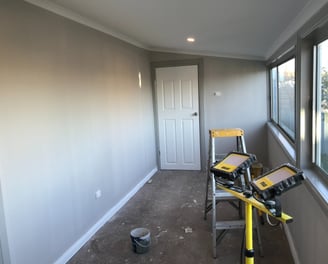
Painting the Office Spaces
I painted the doors, walls, and trim with the same color scheme used throughout the rest of the house. Light grey walls, darker grey architraves, gloss white skirting boards, and white ceilings and cornices created a cohesive, polished look that blended seamlessly with the existing décor.
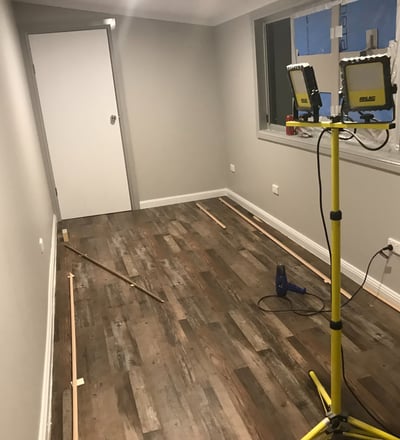

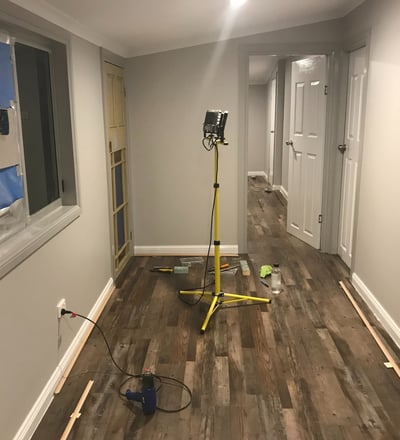
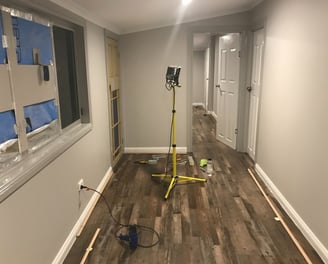
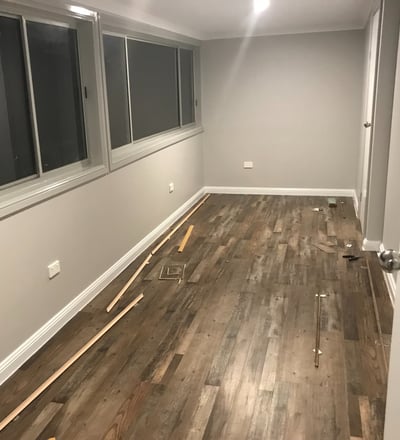
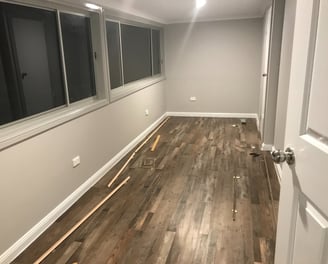
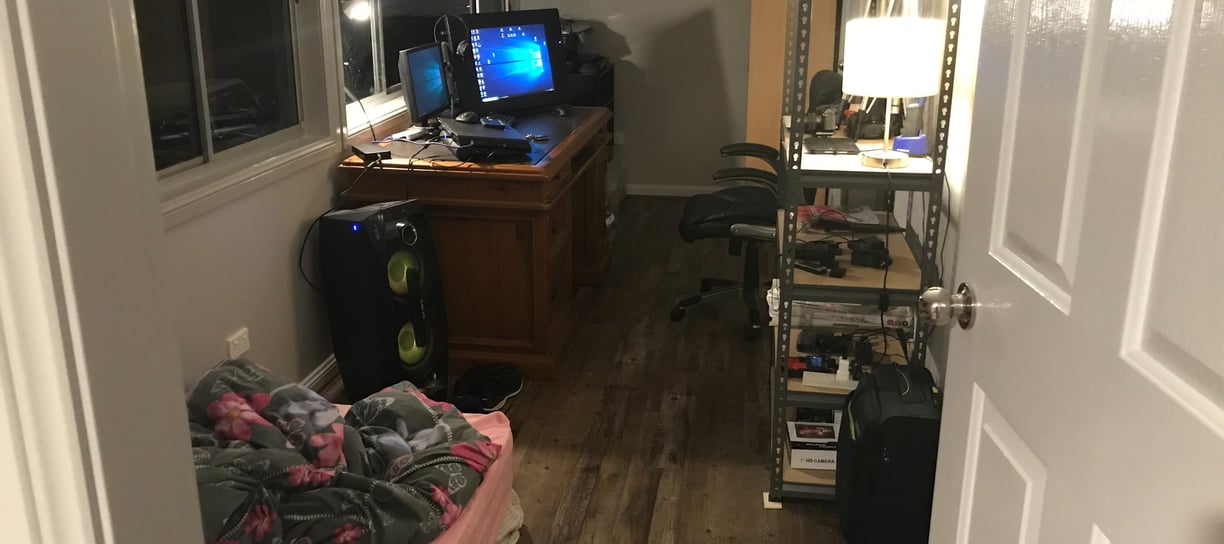
To complete the transformation, I installed hard-wearing timber grain cliplock flooring. This flooring was both durable and visually appealing, perfectly suited for a high-traffic office environment. I trimmed the flooring with 30mm Tasmanian oak scotia, stained dark teak, adding a refined finish to the edges and creating a seamless transition to the skirting boards.
The result was two functional, elegant office spaces that not only met our needs but also enhanced the overall charm and utility of our country cottage.
Finishing Touches: Flooring and Trim

Elevate Your Home with Expert Renovations in the Hunter Valley
Situated in the heart of Gresford, NSW 2311, we are committed to delivering outstanding renovation services throughout the Hunter Valley. Our comprehensive approach covers everything from foundational work to exquisite finishing, ensuring your home renovation is handled with care and precision. Whether you’re in a bustling town or a peaceful countryside, we bring unparalleled expertise and dedication to every project. Let us help you enhance your home’s charm and functionality with our tailored renovation solutions. Contact us today to discover how we can transform your living space in the beautiful Hunter Valley.
Check Out Some Of The Services I Have To Offer
Or Reach Out And Get In Touch With Me
Explore other areas of the work done on Our Little House
Check out my Services Offered
Transformation
Restoring our cottage into a modern retro home.
Talk to Us
Our Little house
shannon@ourlittlehouse.com.au
0497 026 081
© 2024. All rights reserved.