
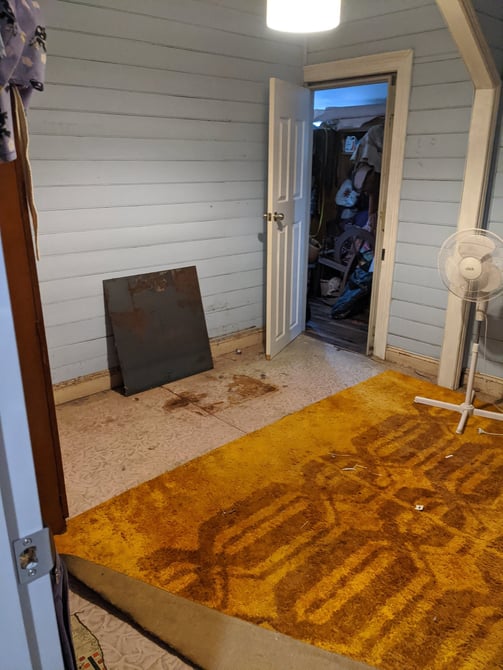
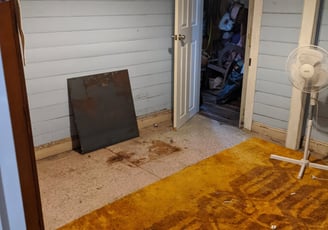
Master Bedroom
Renovating our main bedroom was an ambitious project that began with completely gutting the space back to the bare floor, wall frames, and rafters. The room, originally split into a small section of about 1.5m x 3.6m and a larger section of 3.6m x 3.6m, required a thoughtful redesign to maximize functionality and space.
This was all done by my own two hands from electrical with the direction of my electrician cousin Luke Starling, with the help of a few friends from time to time and with the help and dedication of my super capable and beautiful partner, Melissa.
Removing the Old Lining Boards, Skirting Boards, and Architraves
The renovation began by stripping the bedroom down to its bare frame. This involved carefully removing the old lining boards, skirting boards, and architraves. Each piece was pried off meticulously to avoid damaging the underlying structure. This step was crucial to provide a fresh canvas for the new design and to inspect for any hidden issues like rot or termite damage.
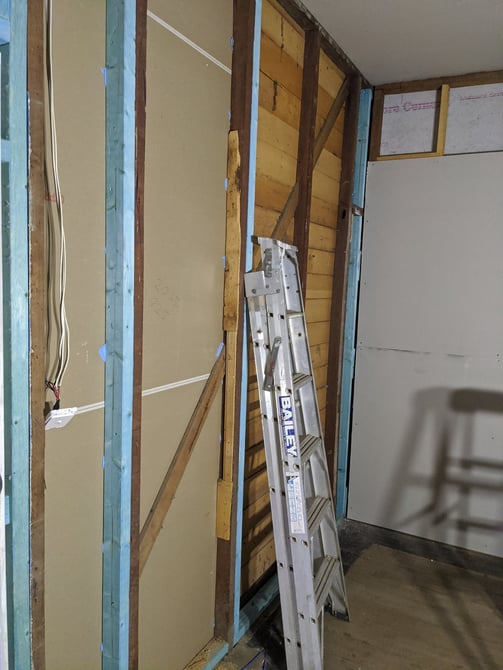
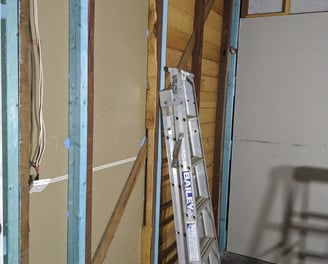
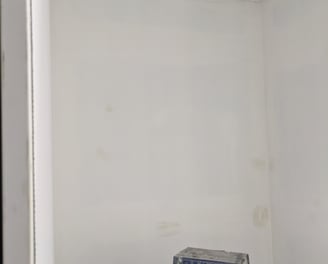
Returning to a Bare Frame
With all the old materials removed, the room was taken back to its bare floor, wall frames, and rafters. This exposed the basic structure, allowing for a thorough inspection and planning for the necessary additions and modifications. This stage revealed the true bones of the room, laying the groundwork for the transformation.
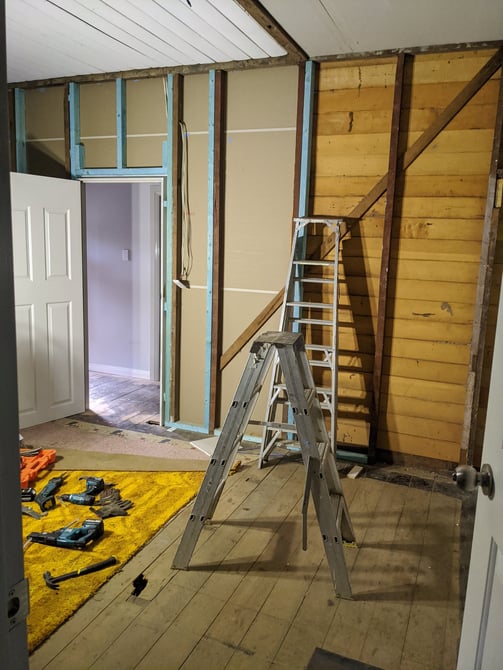

Adding Necessary Timber to Wall Corners
To ensure the new structure would be sturdy and able to support the new design, additional timber was added to the wall corners and other key areas. This reinforcement was essential for creating a solid framework, particularly for the built-in wardrobe and the cavity sliding door. Proper bracing and support beams were installed to enhance the room’s stability.
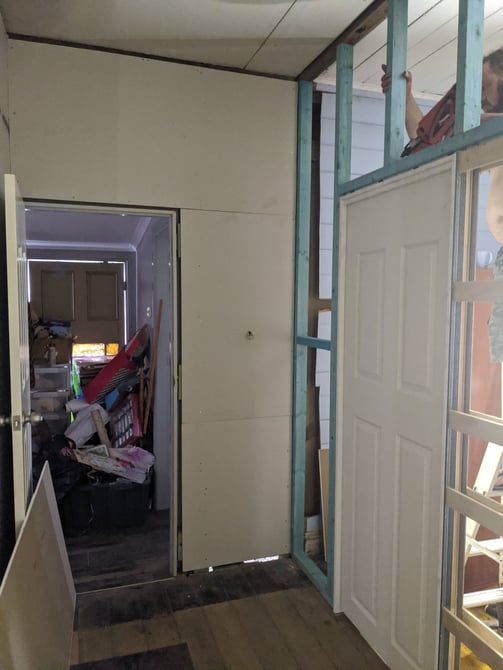
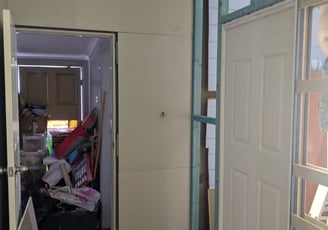
Re-jamming the Door Frame
The main entrance door frame was next on the list. I cut out the old frame and re-jammed the doorway to expand it to 820mm wide. This involved precise measurements and careful cutting to fit the new frame perfectly. The wider doorway improved accessibility and added a sense of openness to the room.
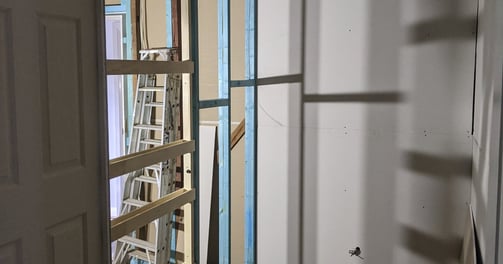

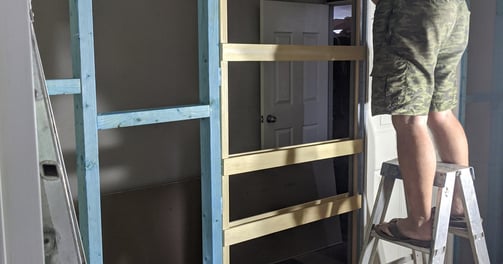
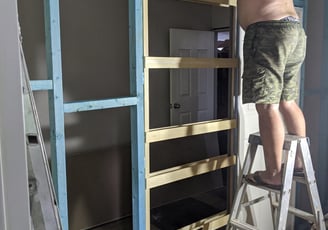
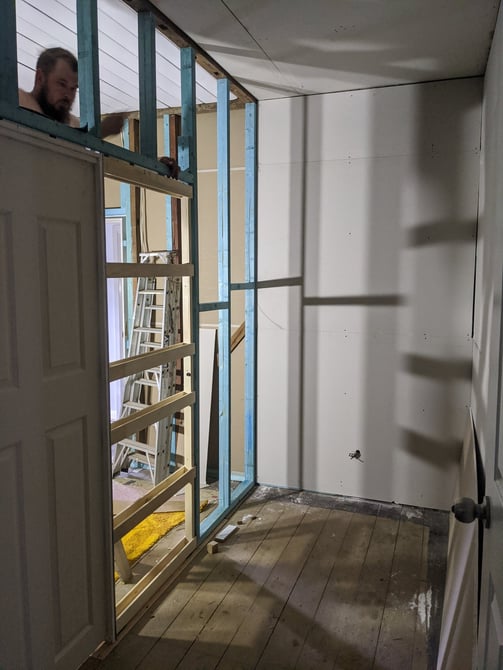
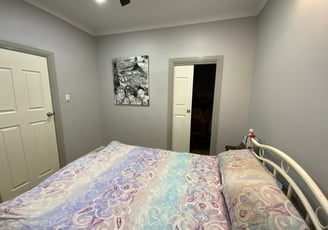
Framing in the Built-In Wardrobe and Adding the Cavity Sliding Door
I framed in the small section of the room, which measured about 1.5m x 3.6m, to create a giant built-in wardrobe. This involved installing studs and a track for the cavity sliding door. The sliding door was a space-saving solution that provided easy access to the wardrobe without encroaching on the room’s floor space.
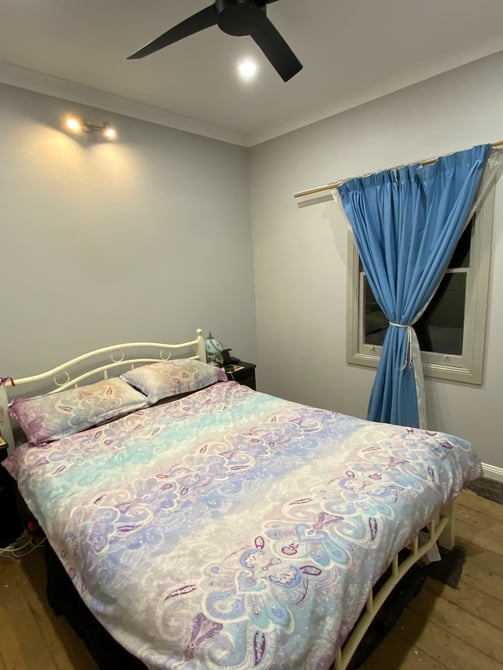
Rebuilding the Sash Window
The existing sash window needed significant work. I dismantled it, replaced any worn-out components, and rebuilt it to ensure smooth operation and better insulation. This step was crucial for maintaining the room’s character while enhancing its functionality. The refurbished sash window brought in ample natural light and improved the room's overall aesthetic.
Rewiring for Lighting and Electrical Outlets
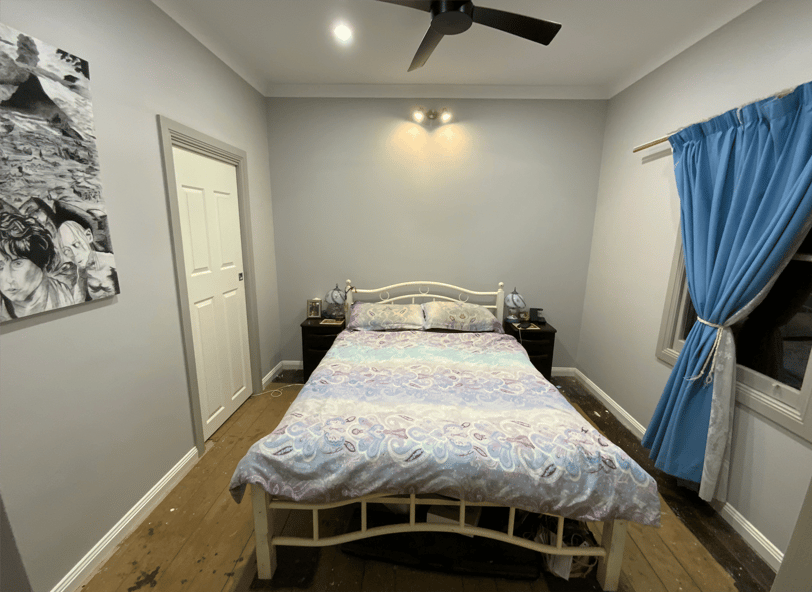
The electrical wiring was completely redone to cater for the new lighting and power needs. Four LED downlights were installed in the main room and two in the built-in wardrobe. A ceiling fan was added for comfort, and a two-LED light rail was placed above the bedhead. Additionally, seven extra power sockets were strategically placed around the room and wardrobe to accommodate modern electrical demands.
Installing and Finishing Drywall, Cornice, Skirting Boards, and Architraves
Next, I installed new drywall, carefully cutting and fitting each piece before securing it to the frame. Federation-style cornices, skirting boards, and architraves were then added to restore the room’s classic charm. Each element was meticulously measured and cut to fit perfectly, ensuring a seamless and professional finish.
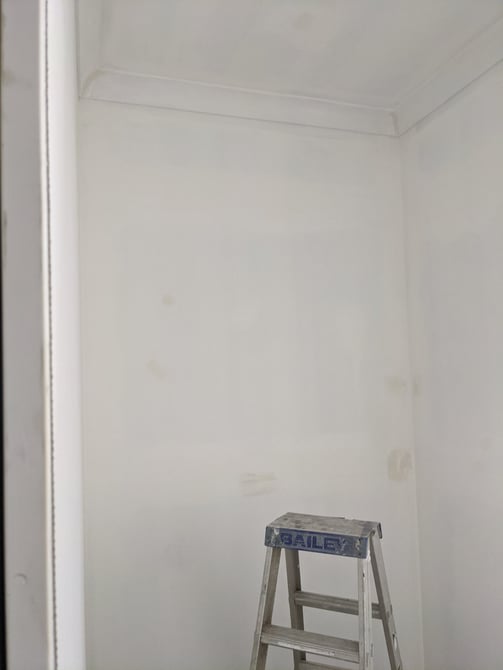
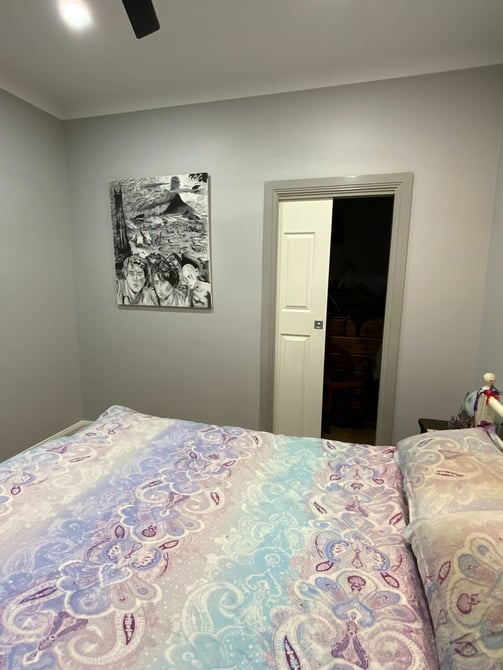
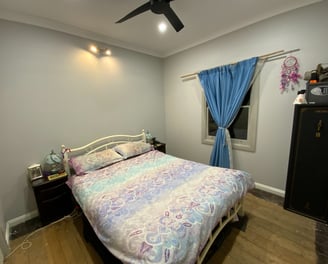
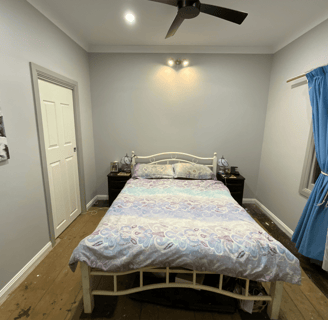
Painting the Room
Painting brought the room to life. The walls were painted a light grey, while the architraves were given a darker grey hue to create a subtle contrast. The skirting boards and doors received a gloss white finish, adding a touch of elegance. The ceiling and cornice were also painted white, enhancing the room’s brightness and giving it a clean, cohesive look.
Final Touches and Completion
With the painting complete, the final touches were added. The LED downlights, ceiling fan, and light rail were installed and tested to ensure proper operation. The new power sockets were fitted, providing ample outlets for modern conveniences. After a week of living in a semi-finished construction site, the renovation was finally complete. The room now featured a blend of modern functionality and classic style, creating a beautiful and practical space.
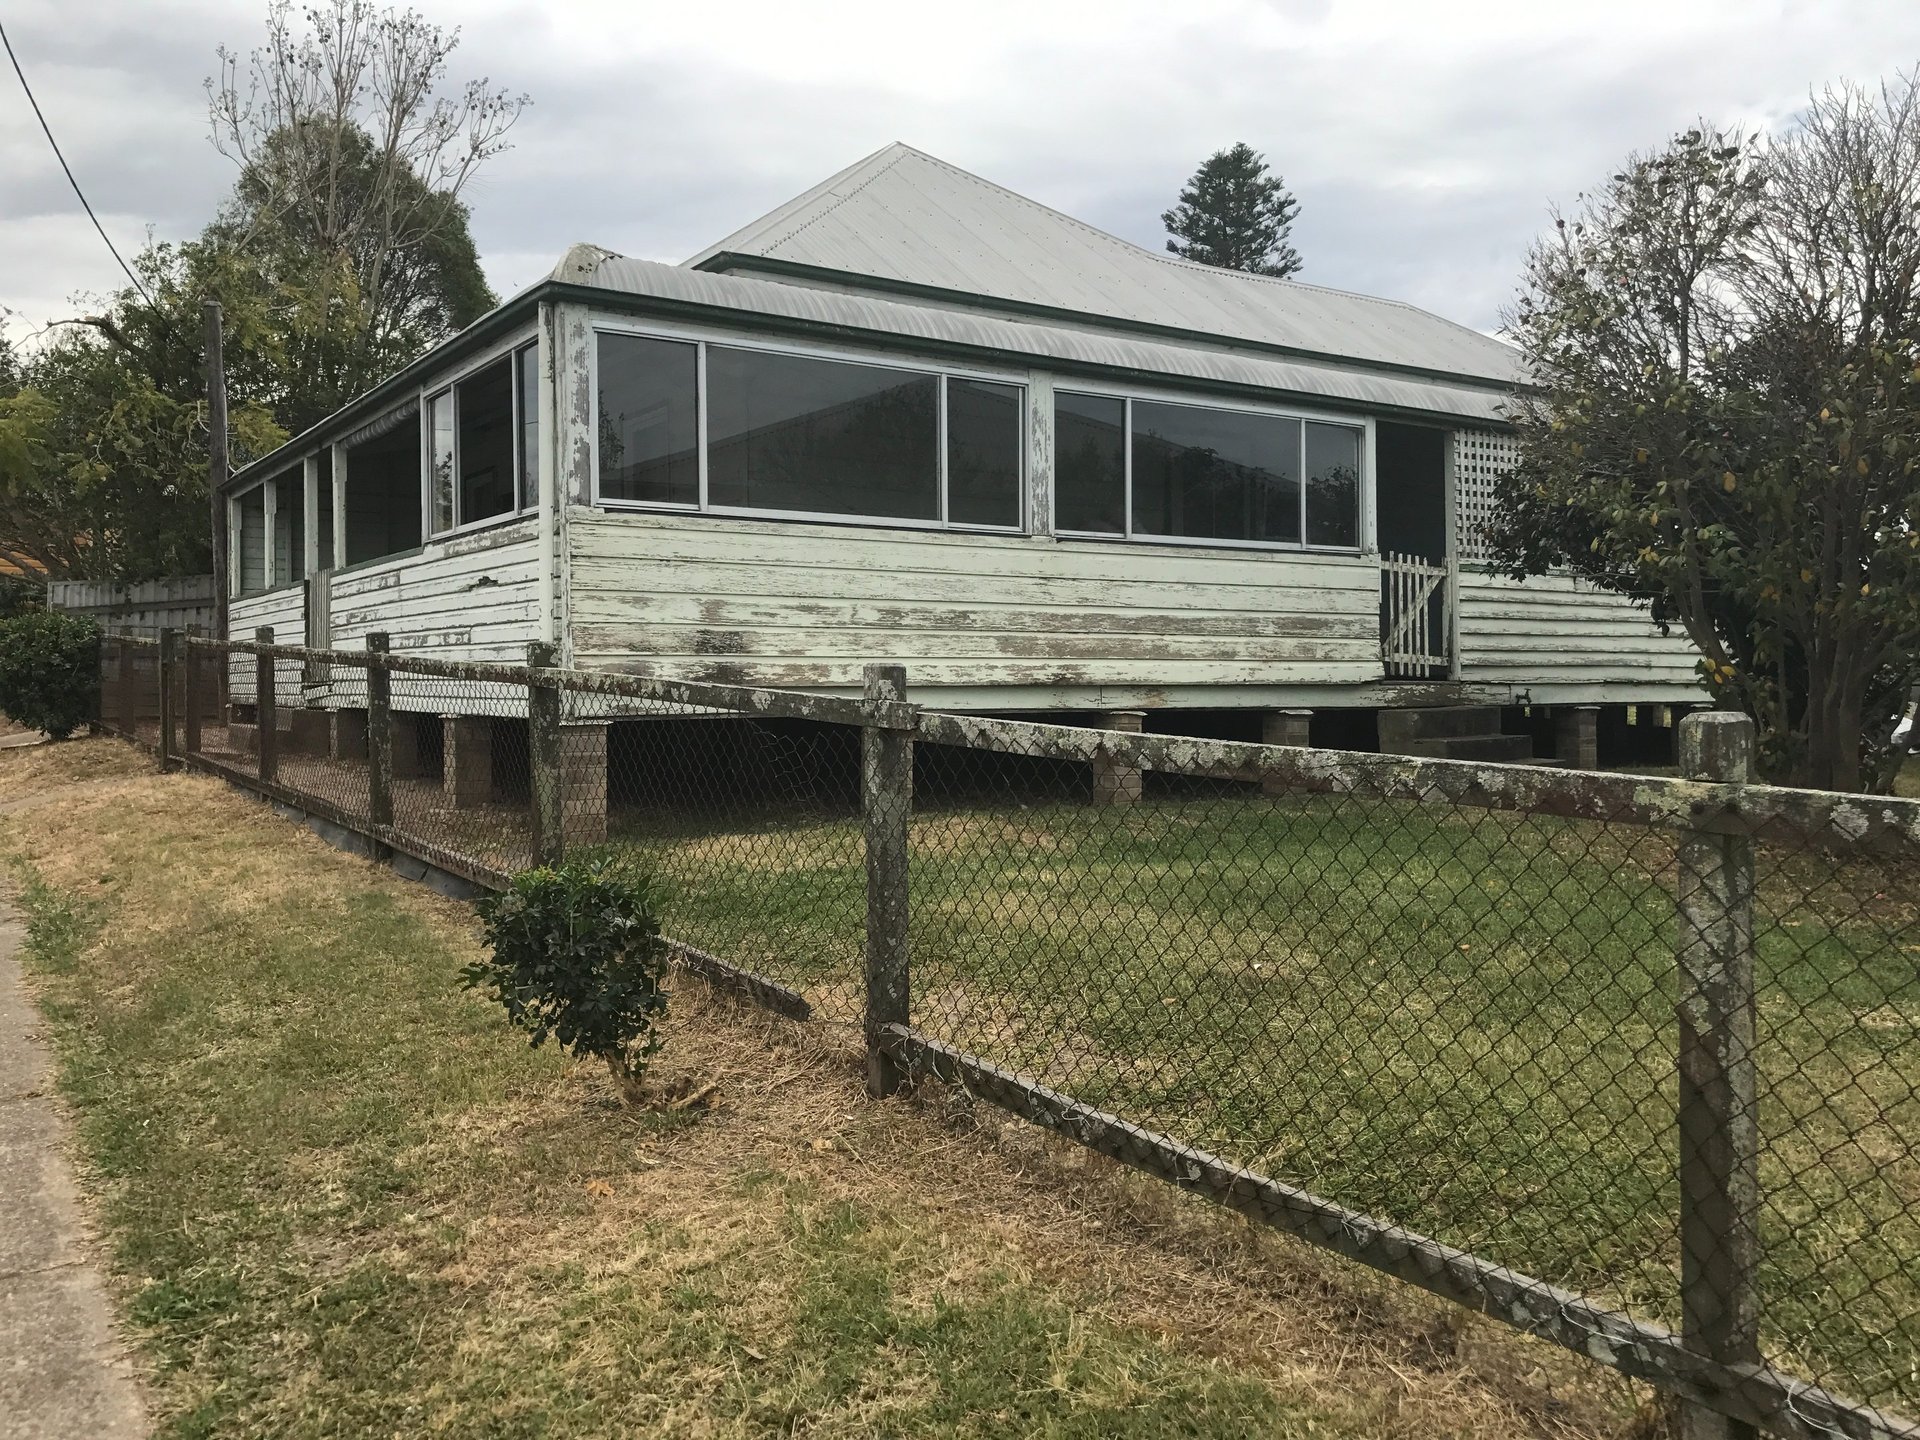
Transforming Homes Across the Hunter Valley
Located in the serene town of Gresford, NSW 2311, we are dedicated to providing top-notch renovation services throughout the Hunter Valley. Our extensive experience and passion for home improvement ensure that each project is completed with the highest standards of quality and care. Whether you live in a bustling town or a tranquil rural setting, we are here to enhance your home’s beauty and functionality. From initial consultation to the final touches, we work closely with you to bring your vision to life. Contact us today and let us help you create the home of your dreams in the Hunter Valley.
Check Out Some Of The Services I Have To Offer
Or Reach Out And Get In Touch With Me
Explore other areas of the work done on Our Little House
Check out my Services Offered
Transformation
Restoring our cottage into a modern retro home.
Talk to Us
Our Little house
shannon@ourlittlehouse.com.au
0497 026 081
© 2024. All rights reserved.