
Kitchen Rip and Replace
Gutting out the old
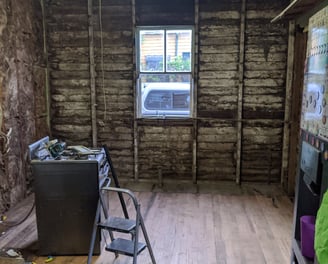
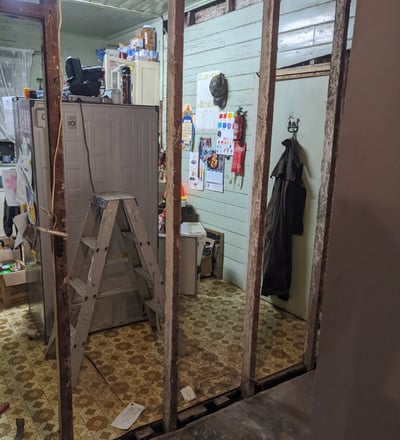
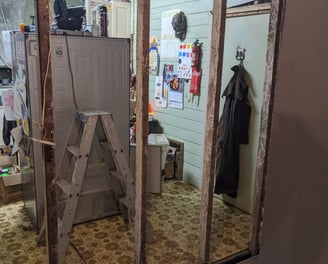
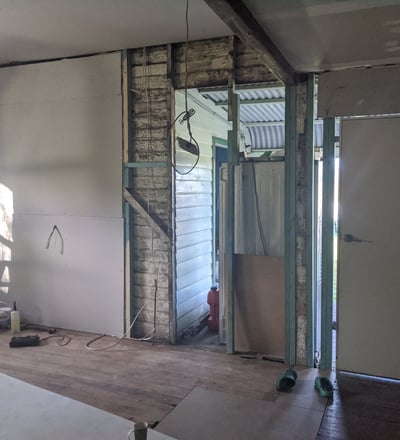
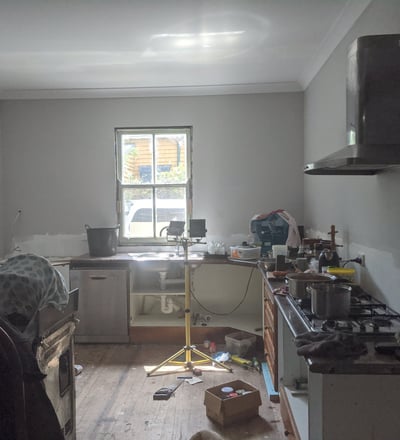
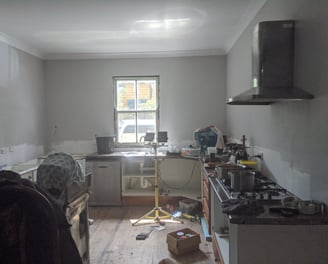
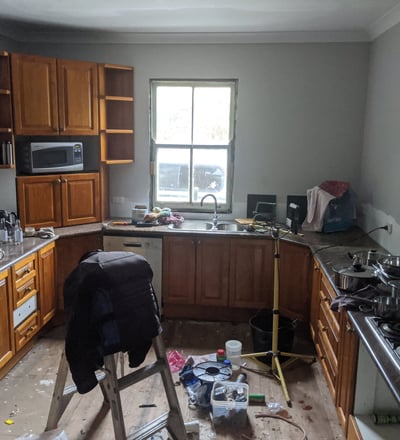
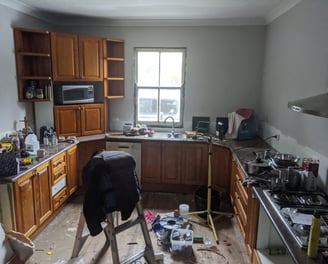
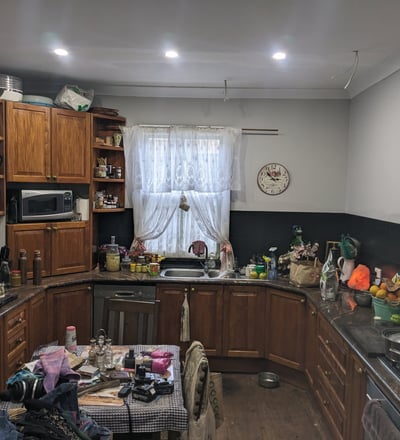
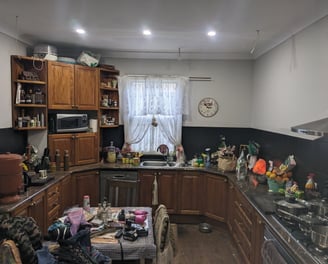
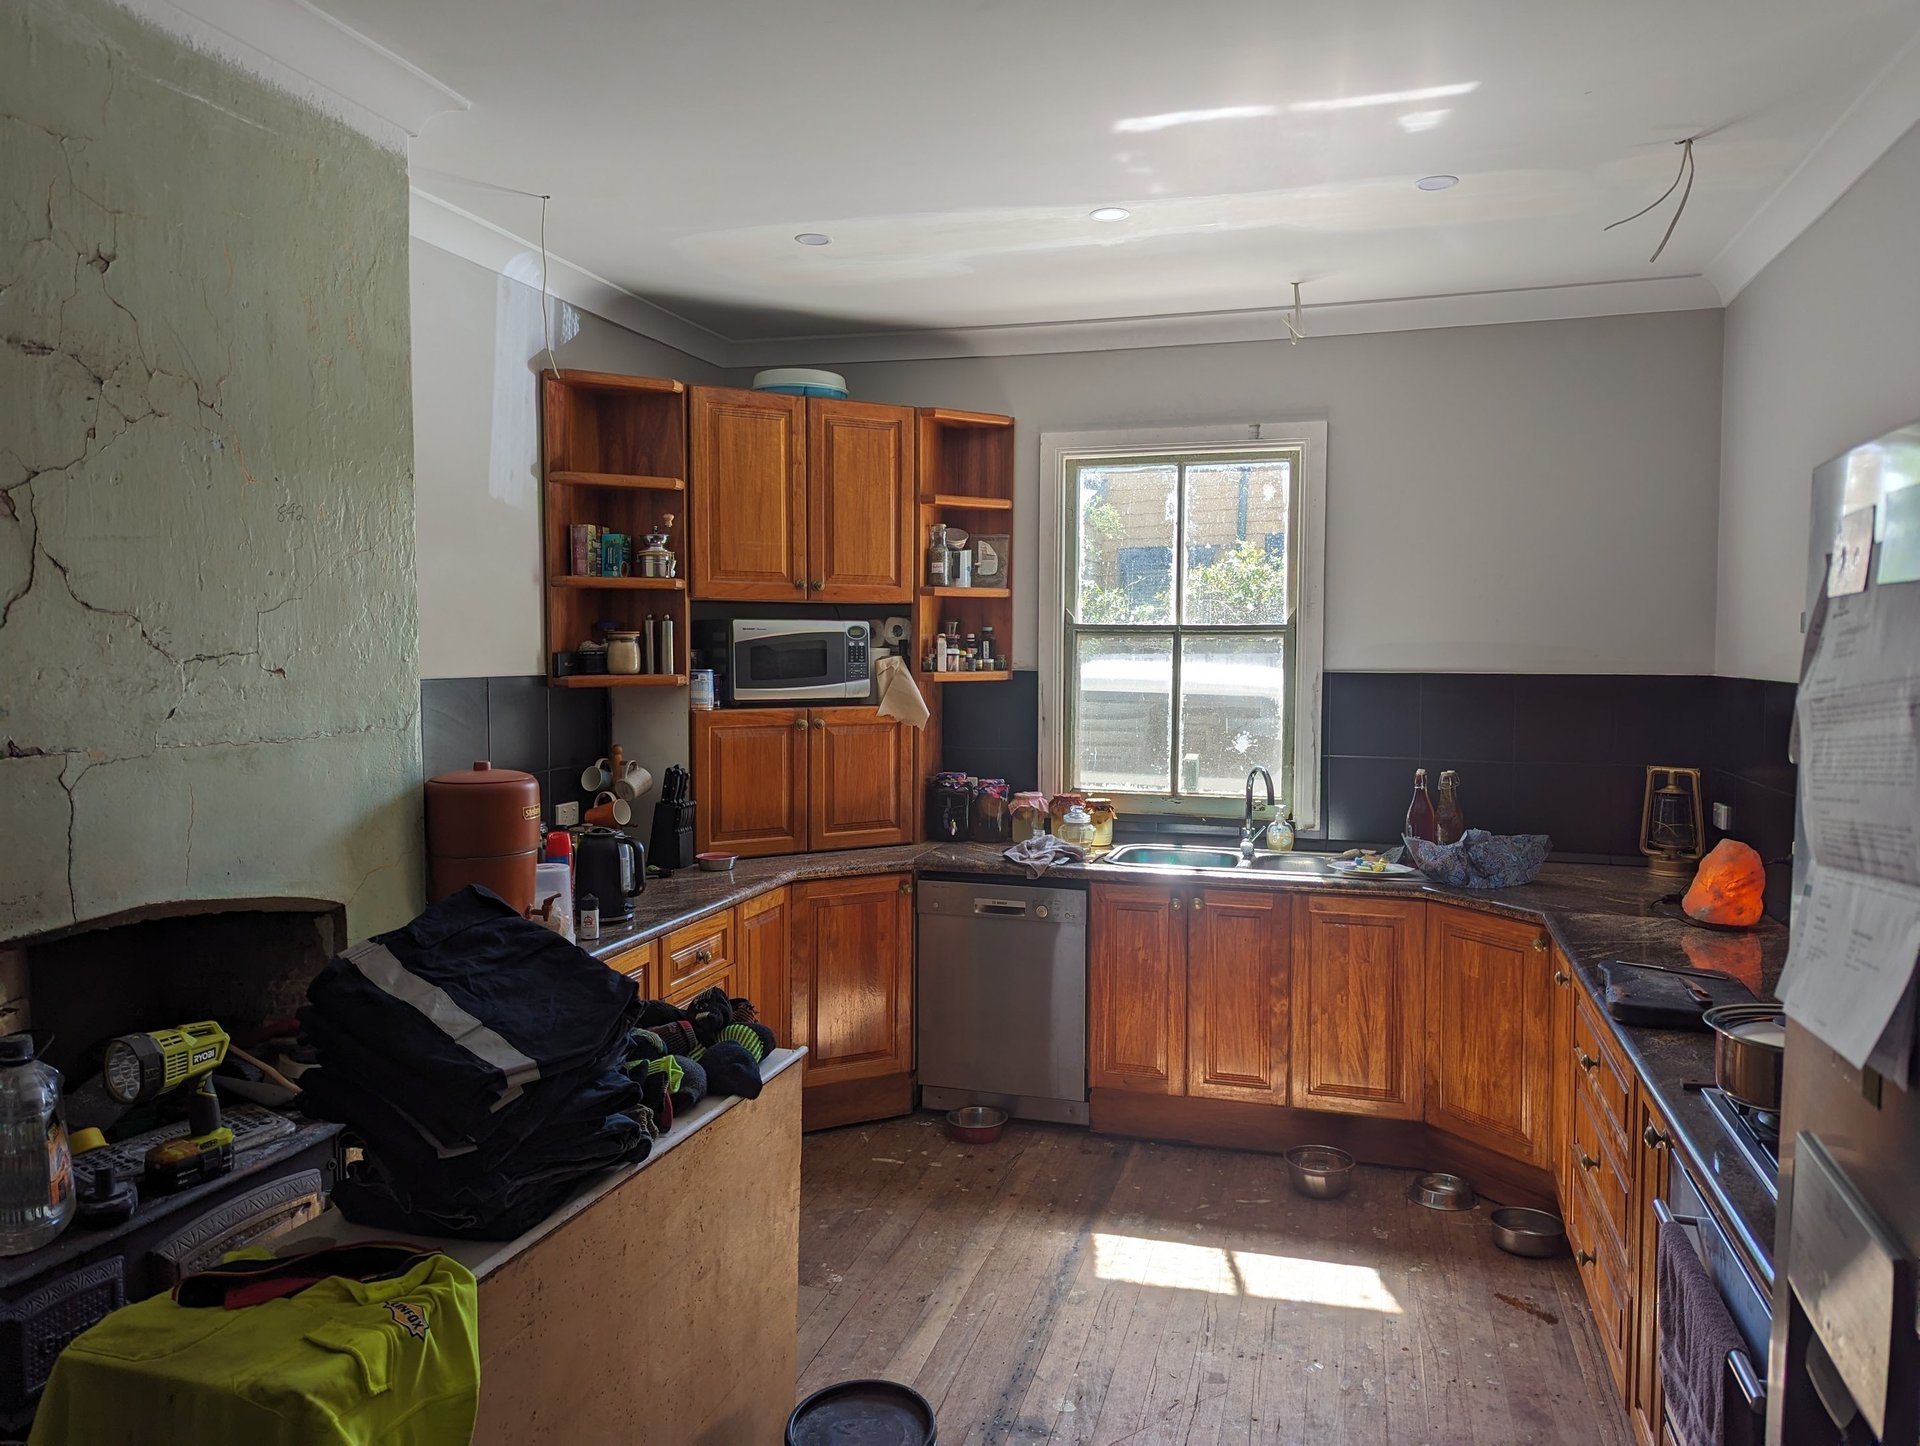
Gutting a kitchen to the bare wall frames is a transformative process that paves the way for a fresh and modern cooking space. This comprehensive demolition involves removing all existing fixtures, appliances, cabinetry, countertops, backsplashes, and flooring, leaving nothing but the structural skeleton of the room.
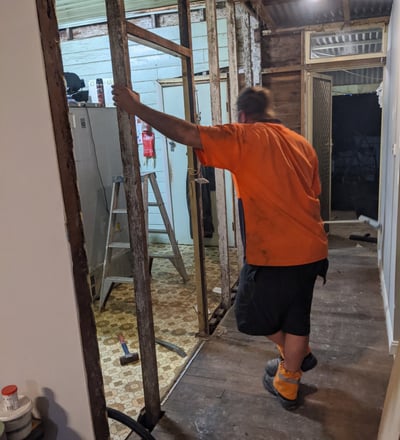
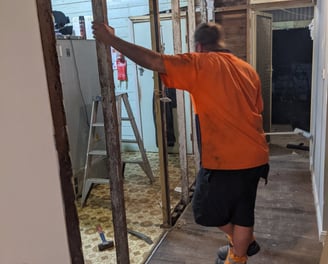

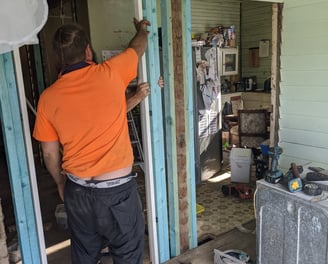
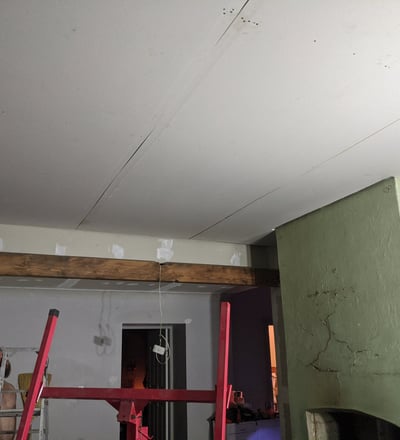
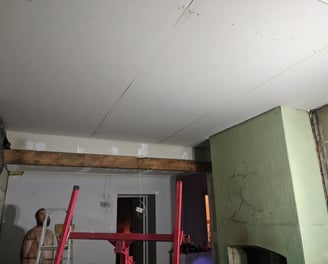
This load bearing wall frame was removed and replaced with a 4.2 meter exposed beam made from recycled 100mmX200mm Oregon timber that is over 150 years old.
A Can of Worms?
The journey begins with meticulous planning and preparation. Ensure all utilities—water, gas, and electricity—are turned off to prevent accidents. We started by disconnecting and removing appliances, then proceeded to take down cabinets, countertops, and backsplashes. Flooring comes next, requiring tools like crowbars and scrapers to strip it down to the subfloor.
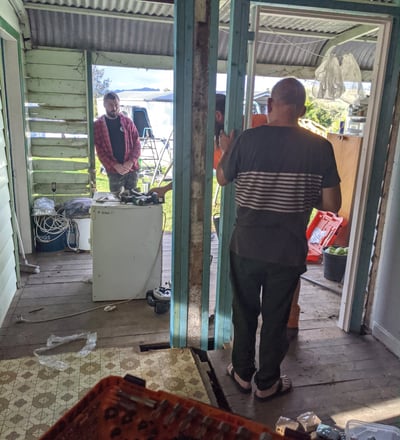
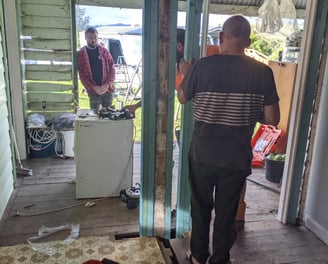
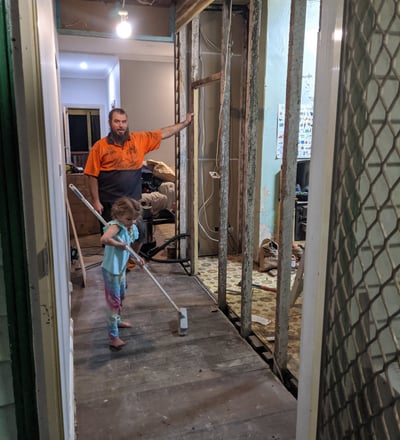
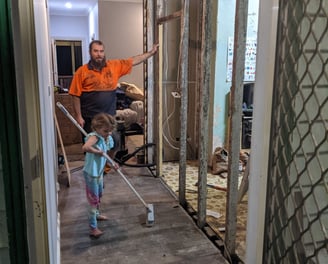
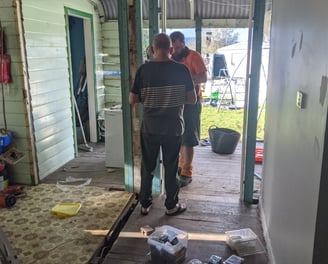
My handy Grandpa Barry helping with some framing.
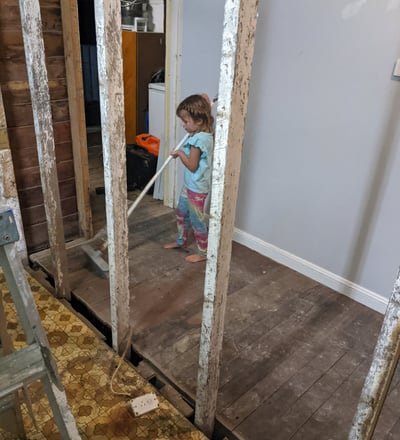
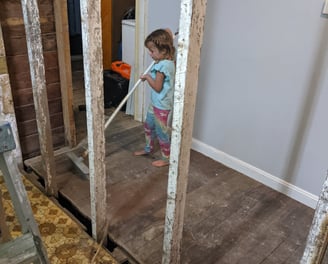
Daddy's little helper Freyja on broom duty.
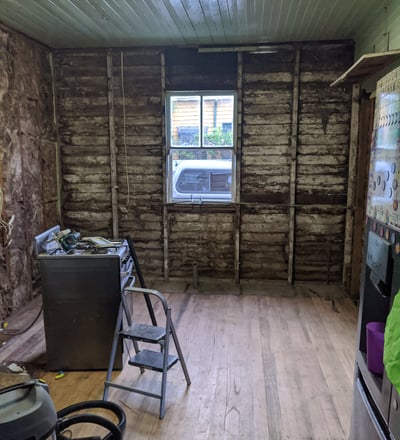
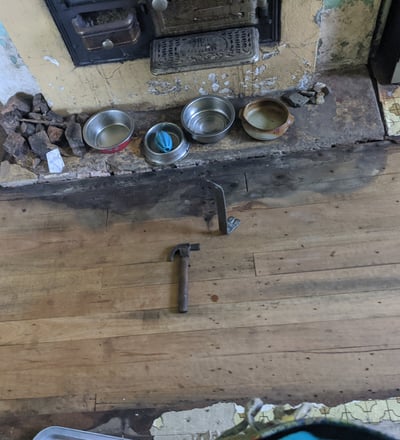
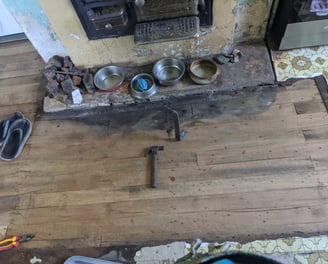
Only the Bones
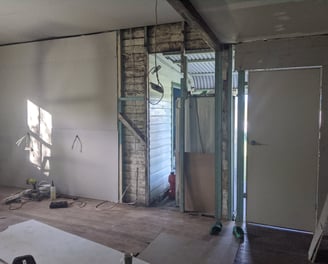
This bare-bones stage offers a unique opportunity to inspect for hidden issues such as water damage, mould, or outdated wiring and plumbing, allowing for necessary repairs or updates. It’s also the perfect time to reconsider the kitchen layout, making structural changes if needed to better suit your new design.
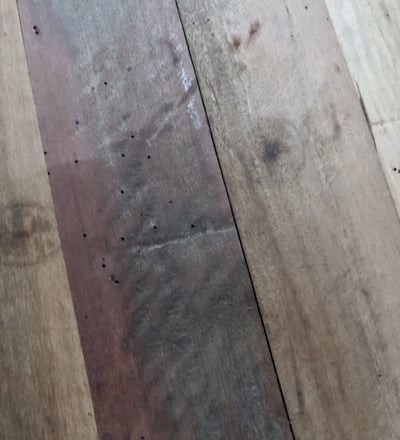

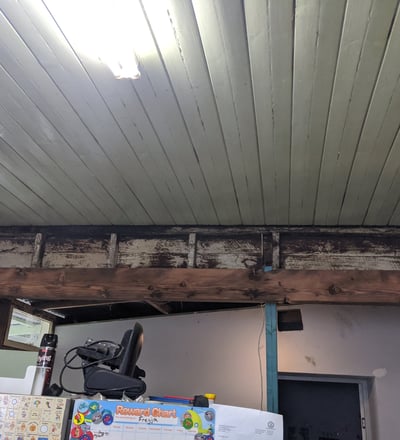
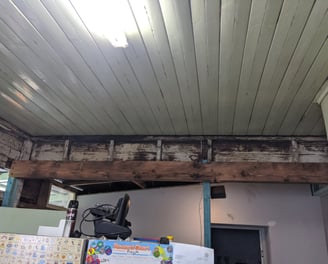
The previously mentioned recycled Oregon.
The Coming Rewards
While gutting a kitchen is labor-intensive and messy, it sets a blank canvas for your dream kitchen. The effort invested in this process ensures that the new space is not only aesthetically pleasing but also highly functional and tailored to your needs..
Timber and Electrons
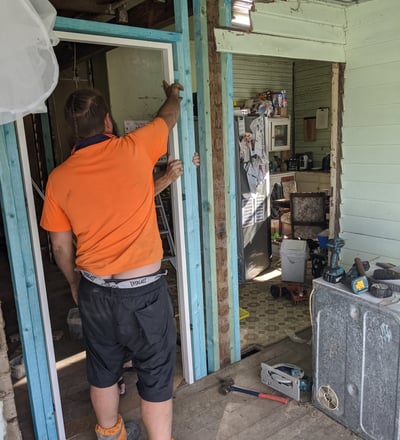
After framing out new doorways, closing in gaps, and making sure the windows and room corners have sufficient timber to support the wall sheets it is time for the electrical.
Running wires for lights and light switches, power points, the oven, range hood, and solar hot water was an adventure that took me back into the roof and under the floor of my home. My electrician cousin, Luke Starling, was by my side, as always. Over the years, Luke has been an invaluable mentor, teaching me the art of tidy and efficient electrical work.
Navigating the tight spaces in the roof and crawling under the floorboards, we meticulously planned and installed the wiring. Luke emphasized the importance of keeping everything organized and secure, demonstrating how to neatly bundle and route wires to avoid tangles and ensure easy access for future maintenance.
Luke's focus on compliance was paramount. He drilled into me the importance of adhering to electrical codes and standards to guarantee safety and reliability. From selecting the right gauge of wire to ensuring all connections were properly insulated and protected, Luke's guidance was crucial.
Thanks to Luke's patience and expertise, I gained the confidence to tackle electrical projects with precision and care. His lessons on quality workmanship and compliance have been invaluable, ensuring that every installation we completed was safe, efficient, and up to code.
Pipes and Drains
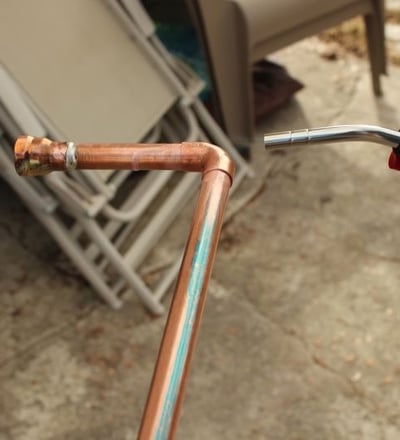
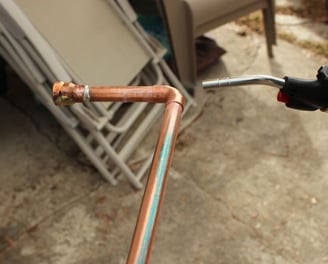
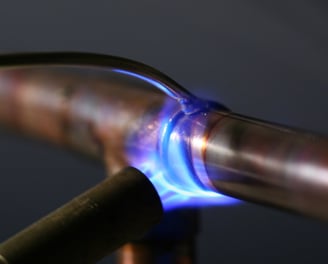
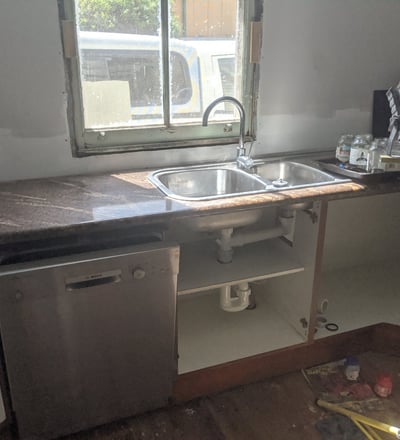
We had to replace the hot and cold water pipes, and the drain pipe to suit the location of the new sink and dishwasher. The same was done with the copper gas line to suit the new stove. Thanks to an "old pro local plumber," Ray Forbes, I am now proficient in handling copper pipe joints with silver solder. Years ago, I worked as Ray's offsider for a week or so on different occasions when he re-plumbed my parents' house over a few months period. During that time, he showed me in detail "all the tricks of the trade."
Ray’s meticulous approach left a lasting impression on me. He taught me how to measure and cut copper pipes with precision, ensuring a perfect fit every time. I learned how to clean and prepare the pipes and fittings using a steel wool and flux, which is crucial for a strong, leak-free joint. Ray also demonstrated the importance of evenly heating the joint with the gas torch, while applying just the right amount of silver solder to create a smooth, reliable seal.
One of Ray's favourite sayings was, "A good plumber is like a good detective—always looking for clues and thinking ahead." He emphasized the importance of planning the pipe layout to avoid unnecessary bends and ensuring proper water flow and pressure. His guidance has been invaluable, enabling me to confidently tackle my plumbing projects, knowing I have the skills and knowledge passed down from a seasoned professional.

The Gyprock Wrangle
Drywalling a kitchen involves several key steps for a polished finish. It starts by gluing and pinning drywall sheets securely to the wall studs, ensuring they align properly.
After installing the sheets, focus on setting the joints and corners using joint compound and drywall tape, smoothing out any seams for a seamless appearance.
Next, apply tape to the corners to reinforce and straighten the edges in a clean square set fashion.
Once the joints and corners are set, adhere the cornice for a decorative touch.
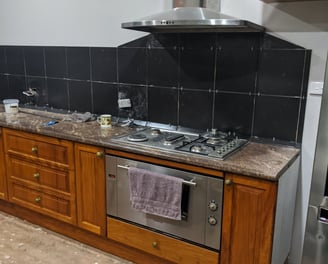
Everything including the kitchen sink
Installing a new kitchen was an exciting and intricate project. I began by leveling the bases with my trusty laser level, ensuring a perfectly flat foundation. With the bases in place, I carefully set the carcasses, aligning everything precisely for a seamless fit.
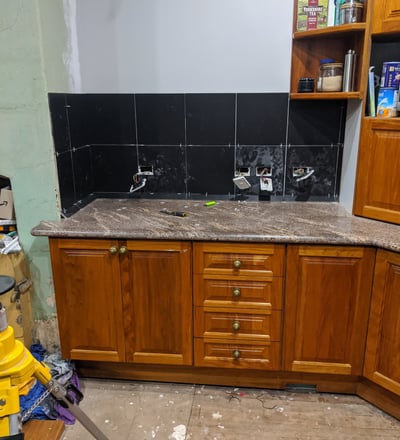
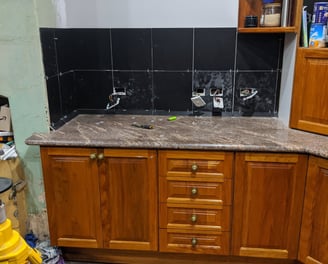
Next, I tackled the plumbing for the sink and dishwasher, connecting the pipes and fittings to ensure leak-free operation. Cutting and setting the pink Italian granite tops was a meticulous task, requiring precision to achieve the perfect finish. Once the countertops were secured, I swung the Victorian ash doors and drawers, adding a touch of classic elegance to the kitchen.
Attaching the kickboards completed the cabinetry, giving it a polished look. I then moved on to fitting the range hood and its ducting, ensuring proper ventilation. Installing the cooktop and its gas fittings required careful attention to safety and compliance. The electric oven and dishwasher were the final pieces, completing the functional and stylish kitchen.
Each step of the process was a rewarding challenge, resulting in a beautiful and functional space that blends modern convenience with timeless style.

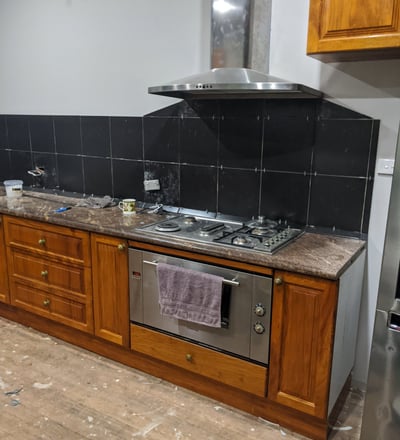
No Tile Left Out
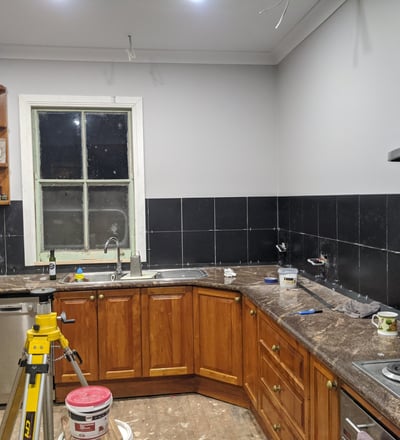
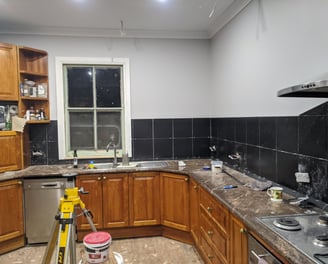
Tiling the splashback in the kitchen was a meticulous and rewarding task. I began by running my laser on its tripod around the room and laying black 300mm x 300mm tiles, carefully cutting 50mm high lengths to create a sleek 45-degree bevel around the bench top where it met the wall. This precision detail added a sharp, contemporary edge to the installation and gave the intended semi commercially tough feel.
With the bevel complete, I moved on to the wall tiles, positioning them atop the bevelled edges 2 tiles high(605mm). Cutting around the numerous power points, switches, and the window required careful measurement and patience to ensure a flawless fit. I also navigated the angled section leading up to the range hood, making sure the tiles aligned perfectly with the kitchen’s design.
The final touch involved tiling around the above-bench corner cupboard, seamlessly integrating the tiles into the existing cabinetry. The result was a striking and cohesive splashback that not only enhanced the kitchen’s aesthetic but also showcased a high level of craftsmanship and attention to detail.
After completing the tiling, I used black grout to fill in the spaces between the tiles, ensuring a sleek and cohesive look that complemented the black tiles perfectly. For a clean, seamless finish around the edges and corners, I applied black Sikaflex silicone. This provided a durable and flexible seal, accommodating any slight movements and giving the splashback a polished, professional appearance. The combination of black grout and silicone not only enhanced the visual impact but also ensured the tiling was both functional and stylish, completing the kitchen’s modern and sophisticated look.
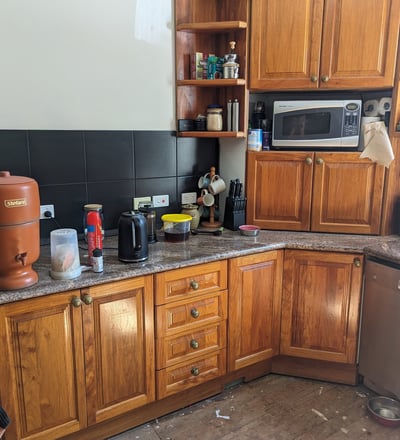
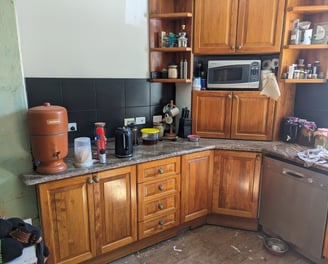
A Quick Coat of Paint
Painting the kitchen was the final touch that brought the entire space together. I chose a light grey for the walls, meticulously cutting in around the dark grey window frames and the white ceiling and cornice to match the rest of the house's color scheme. This palette blended seamlessly with the striking black tile work, creating a sophisticated and cohesive look.
The kitchen’s illumination was enhanced with the installation of five LED downlights strategically spread around the room and three rows of dimmable LED light rails, each positioned above the three bench top sections. These lighting elements not only provided excellent visibility but also added a modern, elegant touch.
After a week of cooking in and navigating a semi-finished construction site, the kitchen was finally complete. It was now ready for its final use, a beautifully finished space where functionality met style, and every detail harmonized with the overall design.
Expert Renovations for the Hunter Valley Community
Nestled in the heart of Gresford, NSW 2311, we proudly extend our expert renovation services throughout the scenic Hunter Valley. Our commitment to quality craftsmanship and attention to detail ensures that every project, big or small, enhances the beauty and functionality of your home. Whether you’re in a lively town or a serene rural area, we bring our extensive experience and passion for home improvement to create spaces you'll love. Let us help you transform your home into a perfect blend of style and comfort. Contact us today to start your renovation journey in the Hunter Valley.
Check Out Some Of The Services I Have To Offer
Or Reach Out And Get In Touch With Me
Explore other areas of the work done on Our Little House
Check out my Services Offered
Transformation
Restoring our cottage into a modern retro home.
Talk to Us
Our Little house
shannon@ourlittlehouse.com.au
0497 026 081
© 2024. All rights reserved.